Three holiday crafts for the whole family!
Fun and easy christmas craft ideas for winter break!
Looking for some crafts to do with your students over Winter Break? Here are three projects that are easy and fun for any student to do! Use common and affordable crafting materials like pipe cleaners, craft sticks, and Elmers glue to create these adorable and festive decorations during the Holiday Season.
Pipe Cleaner Candy Canes:
These are exactly what they sound like… candy canes made out of pipe cleaners!
Supplies you’ll need: Pipe cleaners or any brand of Chenille Craft Stems. If you want to make “traditional” Candy canes you’ll want red and white, but really any colors will do.
Directions:
1). Lay one white pipe cleaner next to a red pipe cleaner
2). Attach your two pipe cleaners by twisting in opposite directions starting at the center of your stems.
3). Twisting opposite of each other all the way to the ends of your pipe cleaners until their joined together in one long spiral
4). Finally bend the top into a hook shape to resemble the shape of a candy cane! Hang it on your Christmas tree or mantel as a festive decoration!
This simple project is not only easy, but fun and ends up adding color and texture to any Christmas tree or mantel.
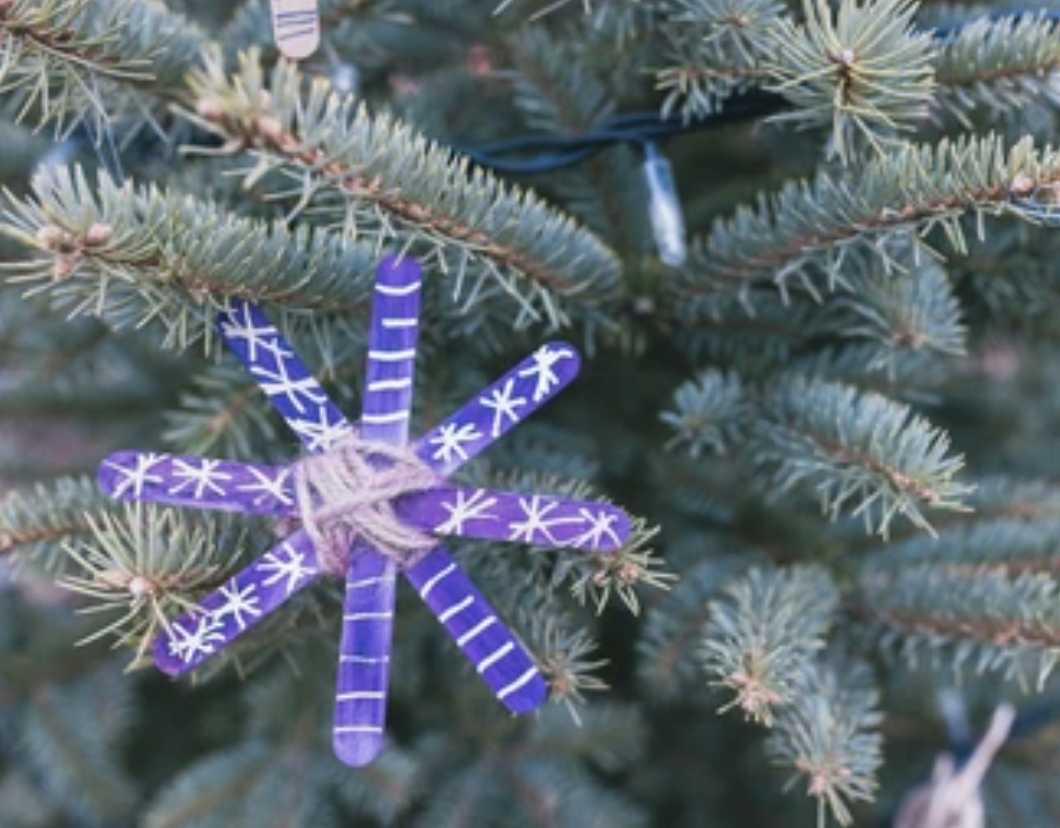
Craft Stick Snowflakes:
This project requires a little bit of time to dry, but once they’re all glued together these adorable colorful snowflakes look great hanging from your entry way, window sills or doorknobs!
Supplies you’ll need:
Wooden craft sticks
White Elmers glue or any brand of washable glue
Tempera Paints or watercolor paints
Paintbrush
Paper towel
Water container
Any other crafting supplies are optional* such as; gems, pom poms, or stickers!
Directions:
1). Attach three craft sticks together in the center by adding a dot or two of wet glue.
*let dry*
2). Once dry, use tempera paint or watercolor paints to add color to your craft sticks! Consider making patterns or using special metallic paints or glitter paints to make them extra fancy.
3). Finally, if you have any other materials to decorate with such as gems, googly eyes, pom poms or more, add those as well with a dot of glue.
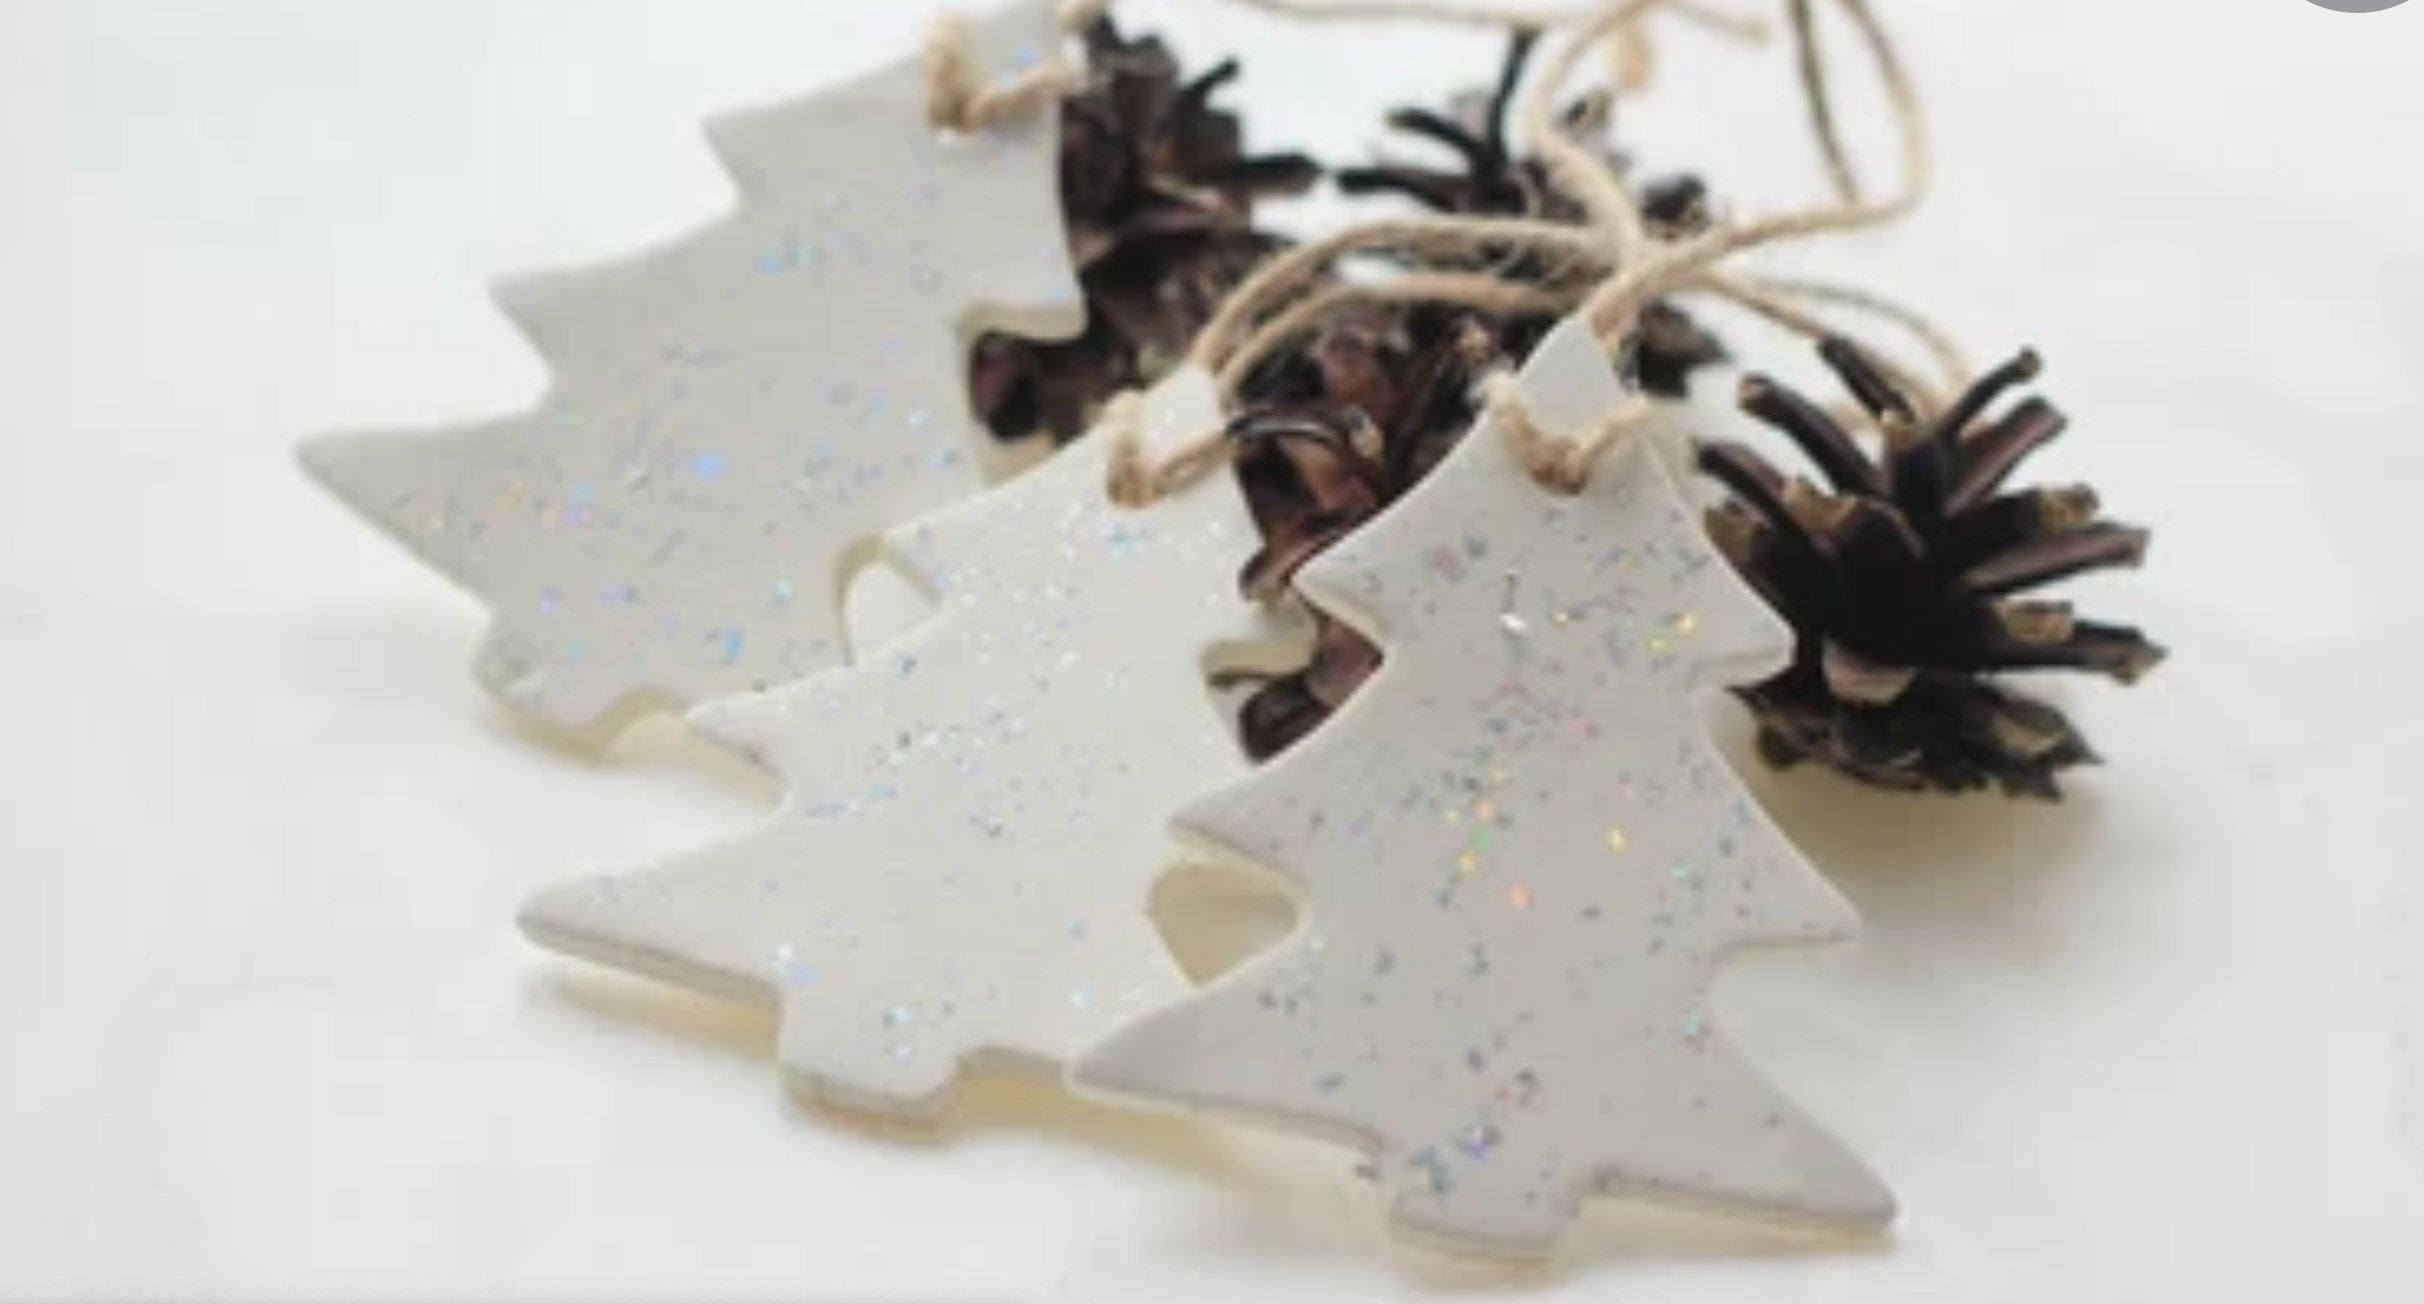
Salt Dough Ornaments
Supplies you’ll need:
4 Cups of Flour
1 Cup of Table Salt
1.5 Cups of Water
Baking Tray
Parchment Paper
Rolling Pin
Cookie Cutters
Toothpick
Tempera or Acrylic Paint
Paint brushes
Water Container
Paper Towel
Ribbon/Yarn or Twine
Directions:
1). Mix the Flour, water and table salt together in a large mixing bowl with a spoon.
Feel free to mix with your hands after a few minutes. If the dough feels a little too wet and sticky add a tablespoon more of flour at a time until it’s not as sticky.
Similarly if it feels too stiff, adding a few drops of water at a time will make it more pliable.
2). Roll out your dough with a rolling pin. Try to make your dough even all the way across like one giant pancake.
3). Use cookie cutters to cut the shapes of your ornaments!
4). Transfer your shapes onto a baking sheet with parchment paper, and repete step 2 & 3 until your tray is full.
5). Use a straw or a toothpick to make a hole in the top of each of your cutouts. This is where you’ll put a ribbon or yarn through after it’s baked!
6). Preheat the oven to 250`, and bake anywhere from 90 minutes - 2 hours. Oven temp. and baking time may vary depending on thickness and texture of dough. Adjust if necessary.
7). Remove from oven and let cool completely
8). Paint your ornaments with acrylic or tempera paint! Feel free to use Mod Podge (once your paint is dry) as a finishing coat to protect your paint from wear and tare!


